

In this article we look at another Proximity and Ambient Light Sensor – this time its the VCNL4040 and we will connect it to our Microbit and see what it can do
First lets take a look at the sensor in question, this is from the datasheet
VCNL4040 integrates a proximity sensor (PS), ambientlight sensor (ALS), and a high power IRED into one small package. It incorporates photodiodes, amplifiers, and analog to digital converting circuits into a single chip by CMOS process.
The 16-bit high resolution ALS offers excellent sensing capabilities with sufficient selections to fulfill most applications whether dark or high transparency lens design.
High and low interrupt thresholds can be programmed for both ALS and PS, allowing the component to use a minimal amount of the microcontrollers resources.
The proximity sensor features an intelligent cancellation scheme, so that cross talk phenomenon is eliminated effectively. To accelerate the PS response time, smart persistence prevents the misjudgment of proximity sensing but also keeps a fast response time.
In active force mode, a single measurement can be requested, allowing another good approach for more design flexibility to fulfill different kinds of applications with more power saving.
The patented Filtron technology achieves ambient light spectral sensitivity closest to real human eye response and offers the best background light cancellation capability(including sunlight) without utilizing the microcontrollers ’resources.
VCNL4040 provides an excellent temperature compensation capability for keeping output stable under various temperature configurations. ALS and PS functions are easily set via the simple command format of I2C(SMBus compatible) interface protocol.
Operating voltage ranges from 2.5 V to 3.6 V.
Here is the sensor I purchased from the good folks at Adafruit (via Pimoroni in the UK)
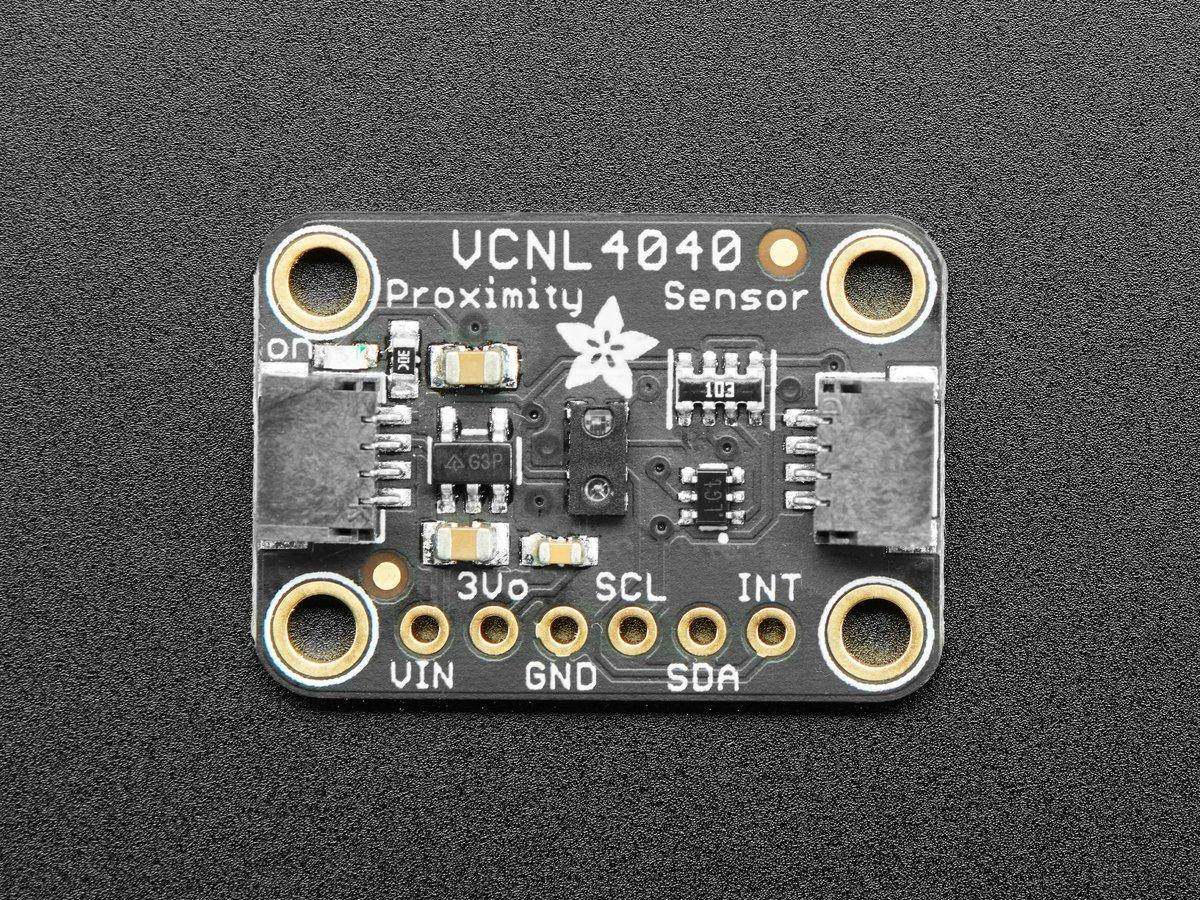
vcnl4040 board
Parts Required
Once again for ease of use I connect an expansion board to the microbit, I feel this makes it easier to connect to a sensor like the one pictured above using connecting wire
Schematic/Connection
The layout below shows a Microbit, I used a Microbit v1
Black for GND
Red for V+
Blue for SDA
Yellow for SCL
Code Example
This sensor uses a couple of libraries, both of which can be installed using the library manager. if you search for the VCNL4040 one first and you are using a newer version of the Arduino IDE it will install the other one as well.
You need the Adafruit library for the VCNL4040 –https://github.com/adafruit/Adafruit_VCNL4040
You also need an I2C support library from the same folks for the library above to work and that is available from – https://github.com/adafruit/Adafruit_BusIO
This is mainly the default example
[codesyntax lang=”cpp”]
#include <Adafruit_VCNL4040.h>

Adafruit_VCNL4040 vcnl4040 = Adafruit_VCNL4040();

void setup() {
  Serial.begin(115200);
  // Wait until serial port is opened
  while (!Serial) { delay(1); }

  Serial.println("Adafruit VCNL4040 Config demo");

  if (!vcnl4040.begin()) {
    Serial.println("Couldn't find VCNL4040 chip");
    while (1);
  }
  Serial.println("Found VCNL4040 chip");

  //vcnl4040.setProximityLEDCurrent(VCNL4040_LED_CURRENT_200MA);
  Serial.print("Proximity LED current set to: ");
  switch(vcnl4040.getProximityLEDCurrent()) {
    case VCNL4040_LED_CURRENT_50MA: Serial.println("50 mA"); break;
    case VCNL4040_LED_CURRENT_75MA: Serial.println("75 mA"); break;
    case VCNL4040_LED_CURRENT_100MA: Serial.println("100 mA"); break;
    case VCNL4040_LED_CURRENT_120MA: Serial.println("120 mA"); break;
    case VCNL4040_LED_CURRENT_140MA: Serial.println("140 mA"); break;
    case VCNL4040_LED_CURRENT_160MA: Serial.println("160 mA"); break;
    case VCNL4040_LED_CURRENT_180MA: Serial.println("180 mA"); break;
    case VCNL4040_LED_CURRENT_200MA: Serial.println("200 mA"); break;
  }

  //vcnl4040.setProximityLEDDutyCycle(VCNL4040_LED_DUTY_1_40);
  Serial.print("Proximity LED duty cycle set to: ");
  switch(vcnl4040.getProximityLEDDutyCycle()) {
    case VCNL4040_LED_DUTY_1_40: Serial.println("1/40"); break;
    case VCNL4040_LED_DUTY_1_80: Serial.println("1/80"); break;
    case VCNL4040_LED_DUTY_1_160: Serial.println("1/160"); break;
    case VCNL4040_LED_DUTY_1_320: Serial.println("1/320"); break;
  }

  //vcnl4040.setAmbientIntegrationTime(VCNL4040_AMBIENT_INTEGRATION_TIME_80MS);
  Serial.print("Ambient light integration time set to: ");
  switch(vcnl4040.getAmbientIntegrationTime()) {
    case VCNL4040_AMBIENT_INTEGRATION_TIME_80MS: Serial.println("80 ms"); break;
    case VCNL4040_AMBIENT_INTEGRATION_TIME_160MS: Serial.println("160 ms"); break;
    case VCNL4040_AMBIENT_INTEGRATION_TIME_320MS: Serial.println("320 ms"); break;
    case VCNL4040_AMBIENT_INTEGRATION_TIME_640MS: Serial.println("640 ms"); break;
  }


  //vcnl4040.setProximityIntegrationTime(VCNL4040_PROXIMITY_INTEGRATION_TIME_8T);
  Serial.print("Proximity integration time set to: ");
  switch(vcnl4040.getProximityIntegrationTime()) {
    case VCNL4040_PROXIMITY_INTEGRATION_TIME_1T: Serial.println("1T"); break;
    case VCNL4040_PROXIMITY_INTEGRATION_TIME_1_5T: Serial.println("1.5T"); break;
    case VCNL4040_PROXIMITY_INTEGRATION_TIME_2T: Serial.println("2T"); break;
    case VCNL4040_PROXIMITY_INTEGRATION_TIME_2_5T: Serial.println("2.5T"); break;
    case VCNL4040_PROXIMITY_INTEGRATION_TIME_3T: Serial.println("3T"); break;
    case VCNL4040_PROXIMITY_INTEGRATION_TIME_3_5T: Serial.println("3.5T"); break;
    case VCNL4040_PROXIMITY_INTEGRATION_TIME_4T: Serial.println("4T"); break;
    case VCNL4040_PROXIMITY_INTEGRATION_TIME_8T: Serial.println("8T"); break;
  }

  //vcnl4040.setProximityHighResolution(false);
  Serial.print("Proximity measurement high resolution? ");
  Serial.println(vcnl4040.getProximityHighResolution() ? "True" : "False");

  Serial.println("");

}

void loop() {

  Serial.print("Proximity:"); Serial.println(vcnl4040.getProximity());
  Serial.print("Ambient light:"); Serial.println(vcnl4040.getLux());
  Serial.print("Raw white light:"); Serial.println(vcnl4040.getWhiteLight());
  Serial.println("");

  delay(500);
}
[/codesyntax]
Output
Open the serial monitor and you should see something like this
Proximity:1
Ambient light:11
Raw white light:10
Proximity:1
Ambient light:12
Raw white light:11
Proximity:1
Ambient light:11
Raw white light:11
Links
https://www.vishay.com/docs/84274/vcnl4040.pdf